Generally there is more than one way to do something. Take for example cooking, two people can have the exact same tools and ingredients and be asked to make the same dish without the use of a recipe to follow and while they will make the same thing they will not taste exactly alike. That isn't to say that they won't both be delicious, just different.
The same is true with art. So like any good cook I like to try out new recipes once in a while, tutorials in this case. So earlier today I visited one of my favorite blogs where Ashely Sisk shares tutorials on Tuesday's. Her tutorial today is on converting a photo to a drawing using Photoshop. This is not a new thing for me but I figured it would be fun, I could use the practice and hey she might do it different than I do.
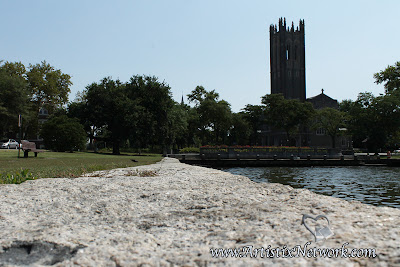
Here is the first original I decided to work on:
I followed her tutorial, which by the way was only slightly different from the way I convert photos to drawings. Here is the results:
I decided that while I love the results I also wanted to see how this one would look with more of a painted look. For this the first three or four steps are the same as Ashely's tutorial. Typically I will do step four and if I am not happy with the result I will back up to step three before going on to my next step. I am pretty sure I didn't invert on this one. Sorry I should have made a note so I wouldn't forget if I had or not. In place of steps 4 - 8 I applied a 'Dark Stroke' filter to the layer, then proceeded to step 9. The steps to finish are the same from here as in Ashely's tutorial. Here is the finished image:
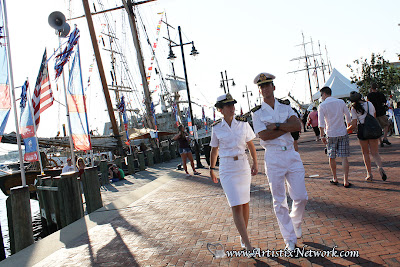
I was having so much fun I decided to do another one, this time going for something fun for my granddaughter to put in her scrapbook.
 |
| The original |
 |
| The sketch for her scrapbook |
My advice to others is to just keep playing around, don't be afraid to tweak the settings. Practice, practice, practice! Just like cooking it usually takes a lot of practice till you are able to consistently be happy with the results, and to keep the skills sharp.


